
- Prepare your equipment: Grease a 9×13-inch baking dish or a heatproof glass dish with vegetable oil or non-stick spray. Set it aside. You can also line the dish with parchment paper for easy removal later.
- Cook the candy mixture: In a medium-sized saucepan, combine the granulated sugar, corn syrup, and water. Stir the mixture over medium heat until the sugar has completely dissolved.
- Heat the mixture: Increase the heat and bring the mixture to a boil without stirring. Attach a candy thermometer to the side of the saucepan, ensuring it does not touch the bottom of the pan. Allow the mixture to boil until it reaches 300°F (150°C) (hard crack stage). This may take about 10-15 minutes depending on your stovetop heat.
- Remove from heat: Once the candy reaches 300°F, immediately remove the saucepan from the heat. Be careful as the syrup will be extremely hot!
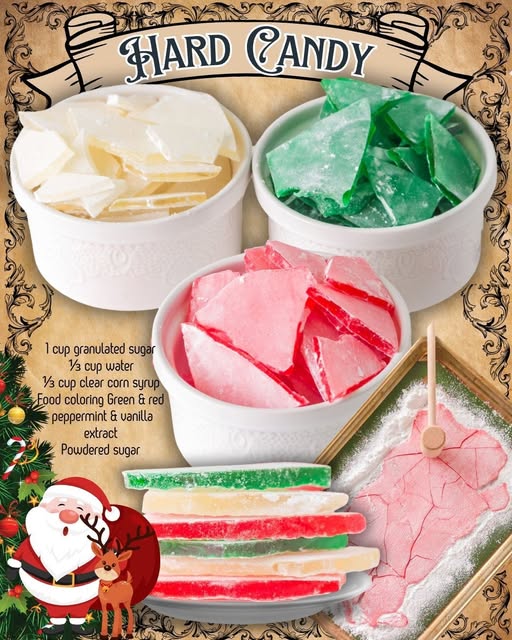
- Add flavor and color: Stir in the flavor extract of your choice (peppermint is classic for Christmas). Then, add a few drops of food coloring to create vibrant colors for your candy. You can divide the candy into portions and add different colors and flavors if desired.
- Pour the candy: Carefully pour the hot candy mixture into the prepared dish. The candy will spread out on its own, but you can gently tilt the dish to help it along if necessary.
- Cool and break: Allow the candy to cool at room temperature for 30 minutes to 1 hour, or until completely hardened. Once the candy has set, use a hammer or mallet to break it into pieces. Be cautious when doing this, as the candy can shatter easily.
- Store: Store the candy in an airtight container at room temperature. Make sure the candy is completely cool before storing to prevent any moisture buildup that could make it sticky.
Serving and Storage:
- Serve the Christmas hard candy as a festive treat during your holiday gatherings. It’s also perfect for gifting in decorative bags or boxes.
- Store the hard candy in an airtight container in a cool, dry place for up to 2 weeks. Avoid storing it in the fridge as moisture can cause it to become sticky.
- If the candy becomes sticky after a few days, you can try re-crystallizing it by spreading it back out on a baking sheet and heating it in the oven at a low temperature to dry out the excess moisture.
Tips:
- If you don’t have a candy thermometer, you can check the candy’s doneness by dropping a small amount of the syrup into a glass of cold water. If it hardens immediately and cracks when you touch it, it’s at the right stage.
- Make sure to work quickly once the candy mixture reaches 300°F, as it hardens fast and becomes difficult to work with.
- If you want to add a special touch, you can sprinkle the top of the candy with edible glitter or crushed peppermint candies after it has been poured into the dish.
- If you plan to give this candy as a gift, consider wrapping the pieces individually in wax paper or cellophane bags for a beautiful presentation.
Variations:
- Flavors: Try different extracts such as cherry, cinnamon, or even orange to give your candy a unique flavor. You can also mix different flavors in separate batches for a colorful assortment!
- Coloring: Instead of just using red and green for Christmas, you can use a variety of colors to fit any occasion, or even mix colors for a swirl effect in the candy.
- Extra texture: Add a sprinkle of crushed nuts, candy canes, or chocolate chips on top of the poured candy for extra texture and a delicious surprise.
Conclusion:
Christmas Hard Candy is a simple yet stunning treat that adds a festive touch to any holiday celebration. Its bright colors, crisp texture, and sweet flavors make it an ideal gift or party favor. Plus, it’s a fun candy to make with the family, allowing everyone to choose their own flavors and colors. Enjoy making this homemade holiday candy, and share the sweet joy with everyone around you!
